
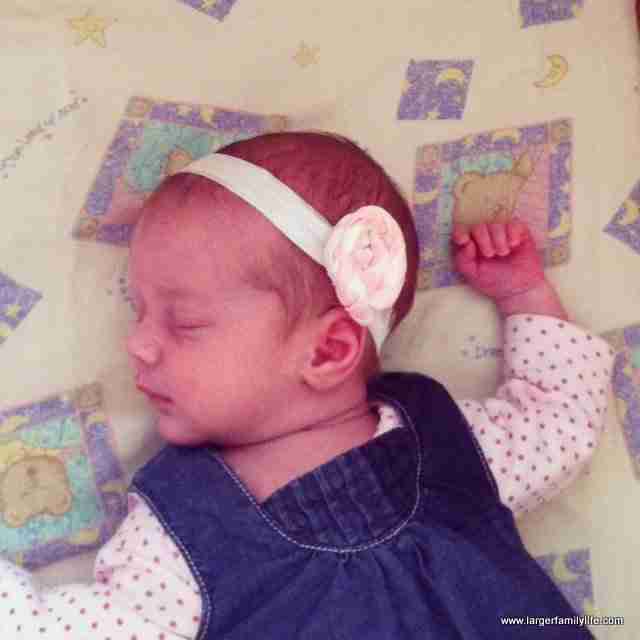
Over the last couple of weeks I have posted this tutorial on how to make Ric Rac Rose Headbands and this one on making Ruffle Flowers. I loved seeing the accessories on little Libby and Anna so much that I decided to make another design of headbands for them. Humour me! After all, it’s been twelve years since I last had a little girl to dress up!
This week I bring you the Ribbon Flower. You can use plain or printed ribbon for it and it’s really simple to make. Here it is on a headband modelled by the beautiful Anna…

… and her equally beautiful sister, Libby…

Here is how to make them. First cut two different coloured pieces of 25mm grosgrain ribbon to approximately 14″ long. You can purchase it from any ribbon supplier
Fold them in half lengthways as shown…

And tie and knot in one end. This will be the centre of your flower.
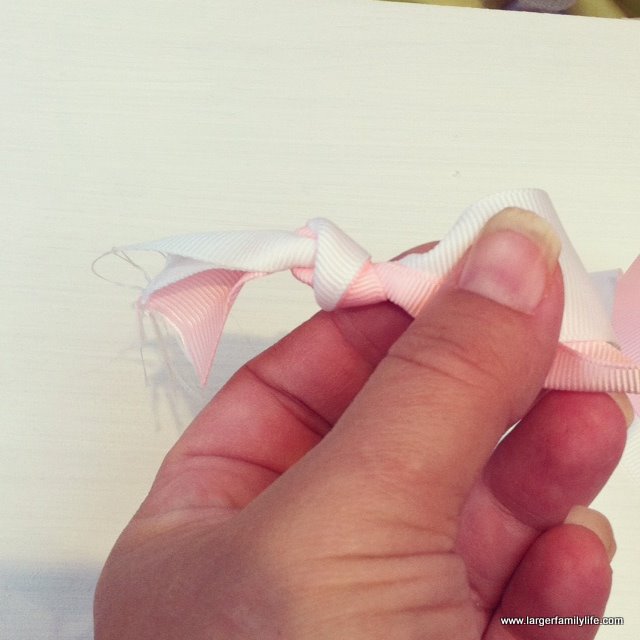
Snip the end of the ribbons off…

Now start rolling the ribbons around the knot, twisting them around and securing with hot glue as you go…
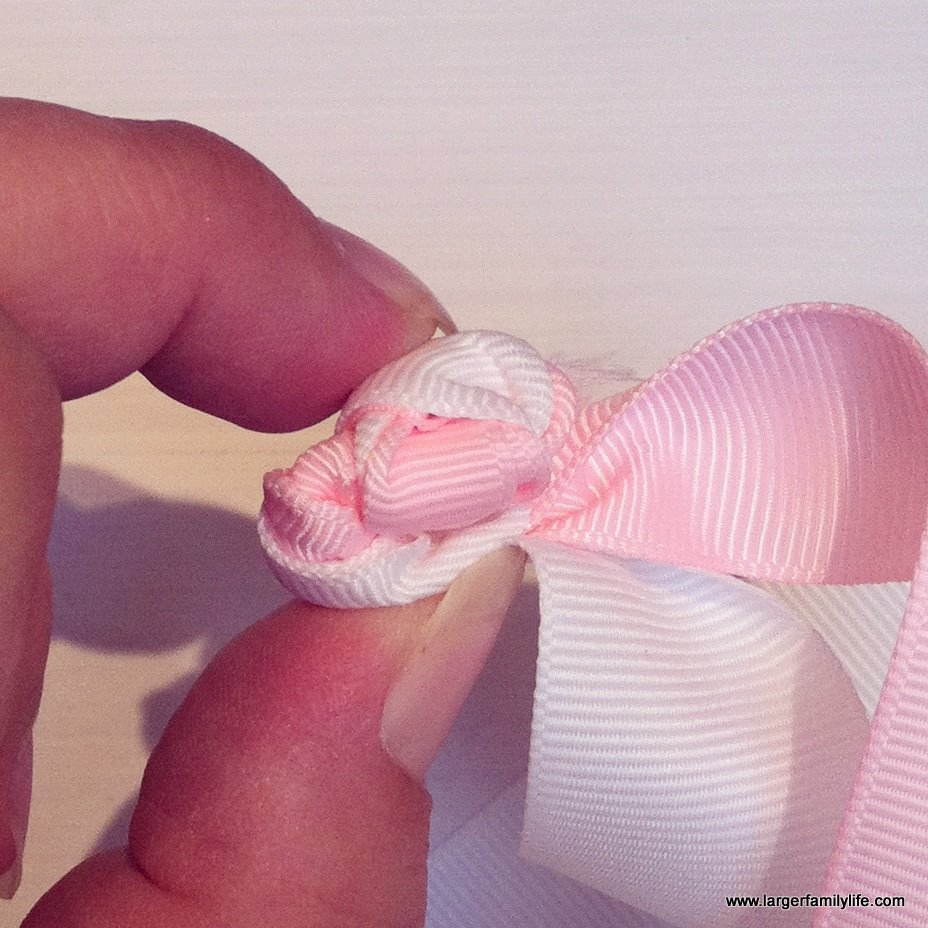
Keep going around and around. When you come close to the end of the ribbon fold them to the back of the flower and secure with hot glue…
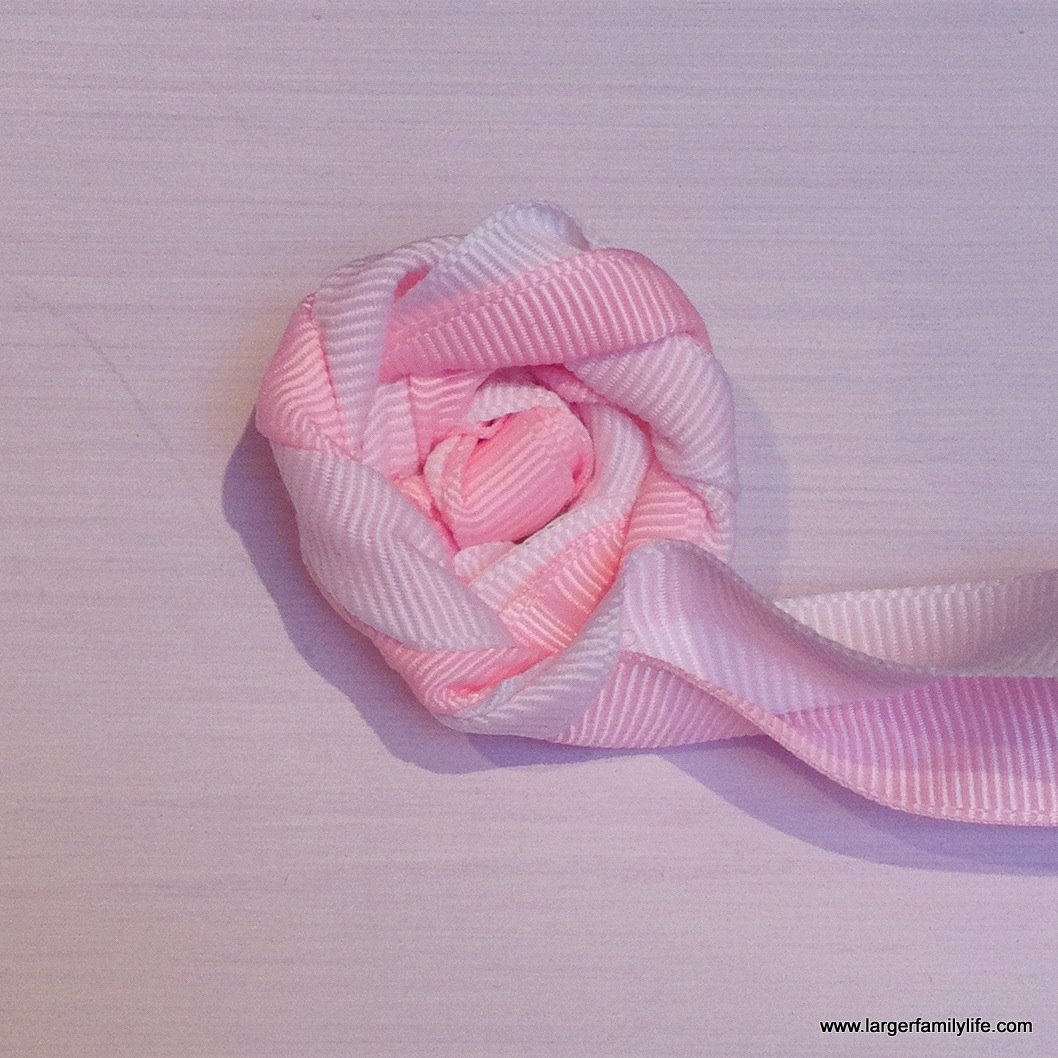
The finished ribbon flower can be glued onto a length of fold over elastic to make a headband or onto a hair clip. You can also use it to embellish clothes, bags or anything else you want to stick it to.


Subscribe to Larger Family Life and get the latest news directly in your inbox or reader. You can also join us on Facebook and Twitter too!




You need to sell these! at a reasonable price, I'd buy them!